GLAM Digital Makers Project

Conservation Project - intro ideas + example worksheet

Before handing out worksheets such as the example below, you could run through setting up one of the sensors as a whole group.

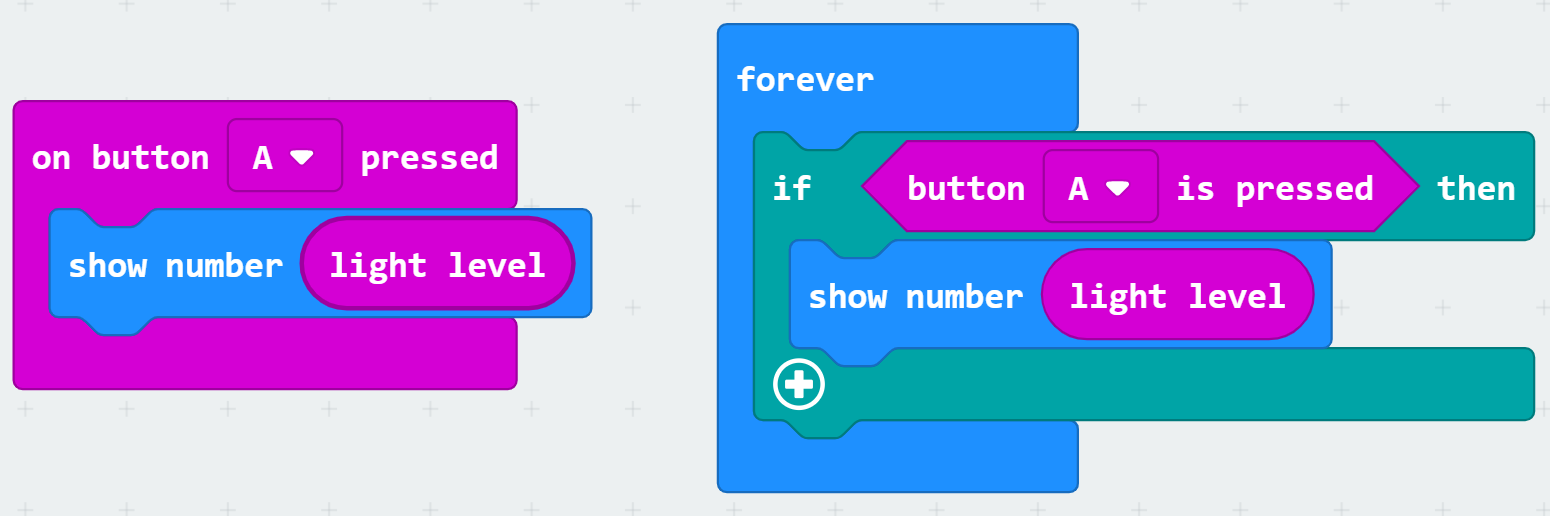
Introduce the MakeCode editor, and demonstrate connecting the blocks to, for example, get a light reading from the micro:bit's screen, and display the reading.

light sensor code example

Show them how to put their code on to the micro:bit itself - either by downloading the .hex file and dragging it onto the micro:bit drive, or by using the newer 'pair' micro:bit feature.

They can then move on to using different sensors in groups.

Some instructions for getting started with the temperature sensor are shown below.

Click here to download an example final program (right click and save as if it doesn't download automatically).

Temperature Sensor

The micro:bit has a few built-in inputs.

Test the micro:bit's built-in temperature sensor by editing your light level code.

Can you get the current temperature to display on your micro:bit?

Making a Smart Sensor

These two blocks of code are equivalent:

on button press compared to if button pressed

Note - they are not exactly the same, and have different uses. But for our purposes they accomplish the same thing.

Try this code with your temperature data, using the Conditionals blocks in the Logic menu.

Also in the Logic menu, are Comparison and Boolean blocks.

Use these blocks to create a program that will give you appropriate warnings to protect your item from temperature changes.